
Organizational Tips
Quilters and crafters often have a tendency to collect supplies faster than they can use them. Having a good system in place to help you stay organized means you’ll know where things are when you need them. Today’s blog puts the spotlight on our top tips for organizing your fabric, needles, and notions.
Fabric Storage
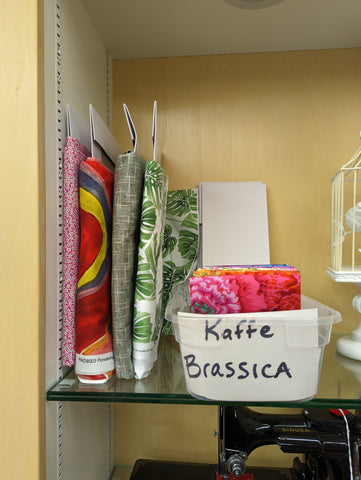
Dollar store bins, preferably clear, are just right to store uncut projects and/or precuts. Place a notecard in the front to label the contents or use a label maker or write on washi tape to designate the contents!
Gift boxes (unused and folded) in multiple sizes to wrap fabrics. Shannon likes the shirt sizes for more than one yard lengths. A necktie size works well for yardages under a yard. At a glance you can determine whether you have more than a yard (gauging from the size of the box) and as they stand upright like books on a shelf, you do not have to rummage in a tub for the correct shade of a color. Here’s a tip: pre-starch the fabric with Terial Magic - it’s biodegradable, non-toxic and safe for pets and kids and will not attract bugs!
Storing Cut Projects
Ziplock bags, available everywhere, are perfect to store each size or color of your precuts or projects.

Consider using the small round laundry baskets from the dollar store with paper plates between each layer of the cut size or color.
Keep a small tackle box for each of your machines. The compartments inside are just right for keeping the bobbins, presser feet, cords, and other accessories. Here we have to remind you, never leave your machines plugged in when they are not being used. A small surge of electricity can zap the circuit boards in your machine!
Storing Patterns
Keep the original sleeves that come with your patterns and get a large 3-ring binder to organize your patterns. Shannon stores hers by pre-cut type and for those that are not pre-cut structured, she stores them by size of the quilt. With this method it’s possible to designate a section in the binder for those that have alternate sizes!

Use small command strips to hang your embroidery hoops, and then hang your rulers on small command hooks inside (if they fit) of the embroidery hoops to save space.
Use dollar store single piece silverware drawer insert for storing your needles.
Finished Projects
Use pants hangers (with the cardboard wire cover) for storing quilt tops that are finished and waiting to be quilted. This minimizes the wrinkles and stretching that can happen when you store them folded in a tub/bin!

We hope these ideas have helped you better organize your craft space. What other ideas have you used? We’d love to hear about your tips and tricks!